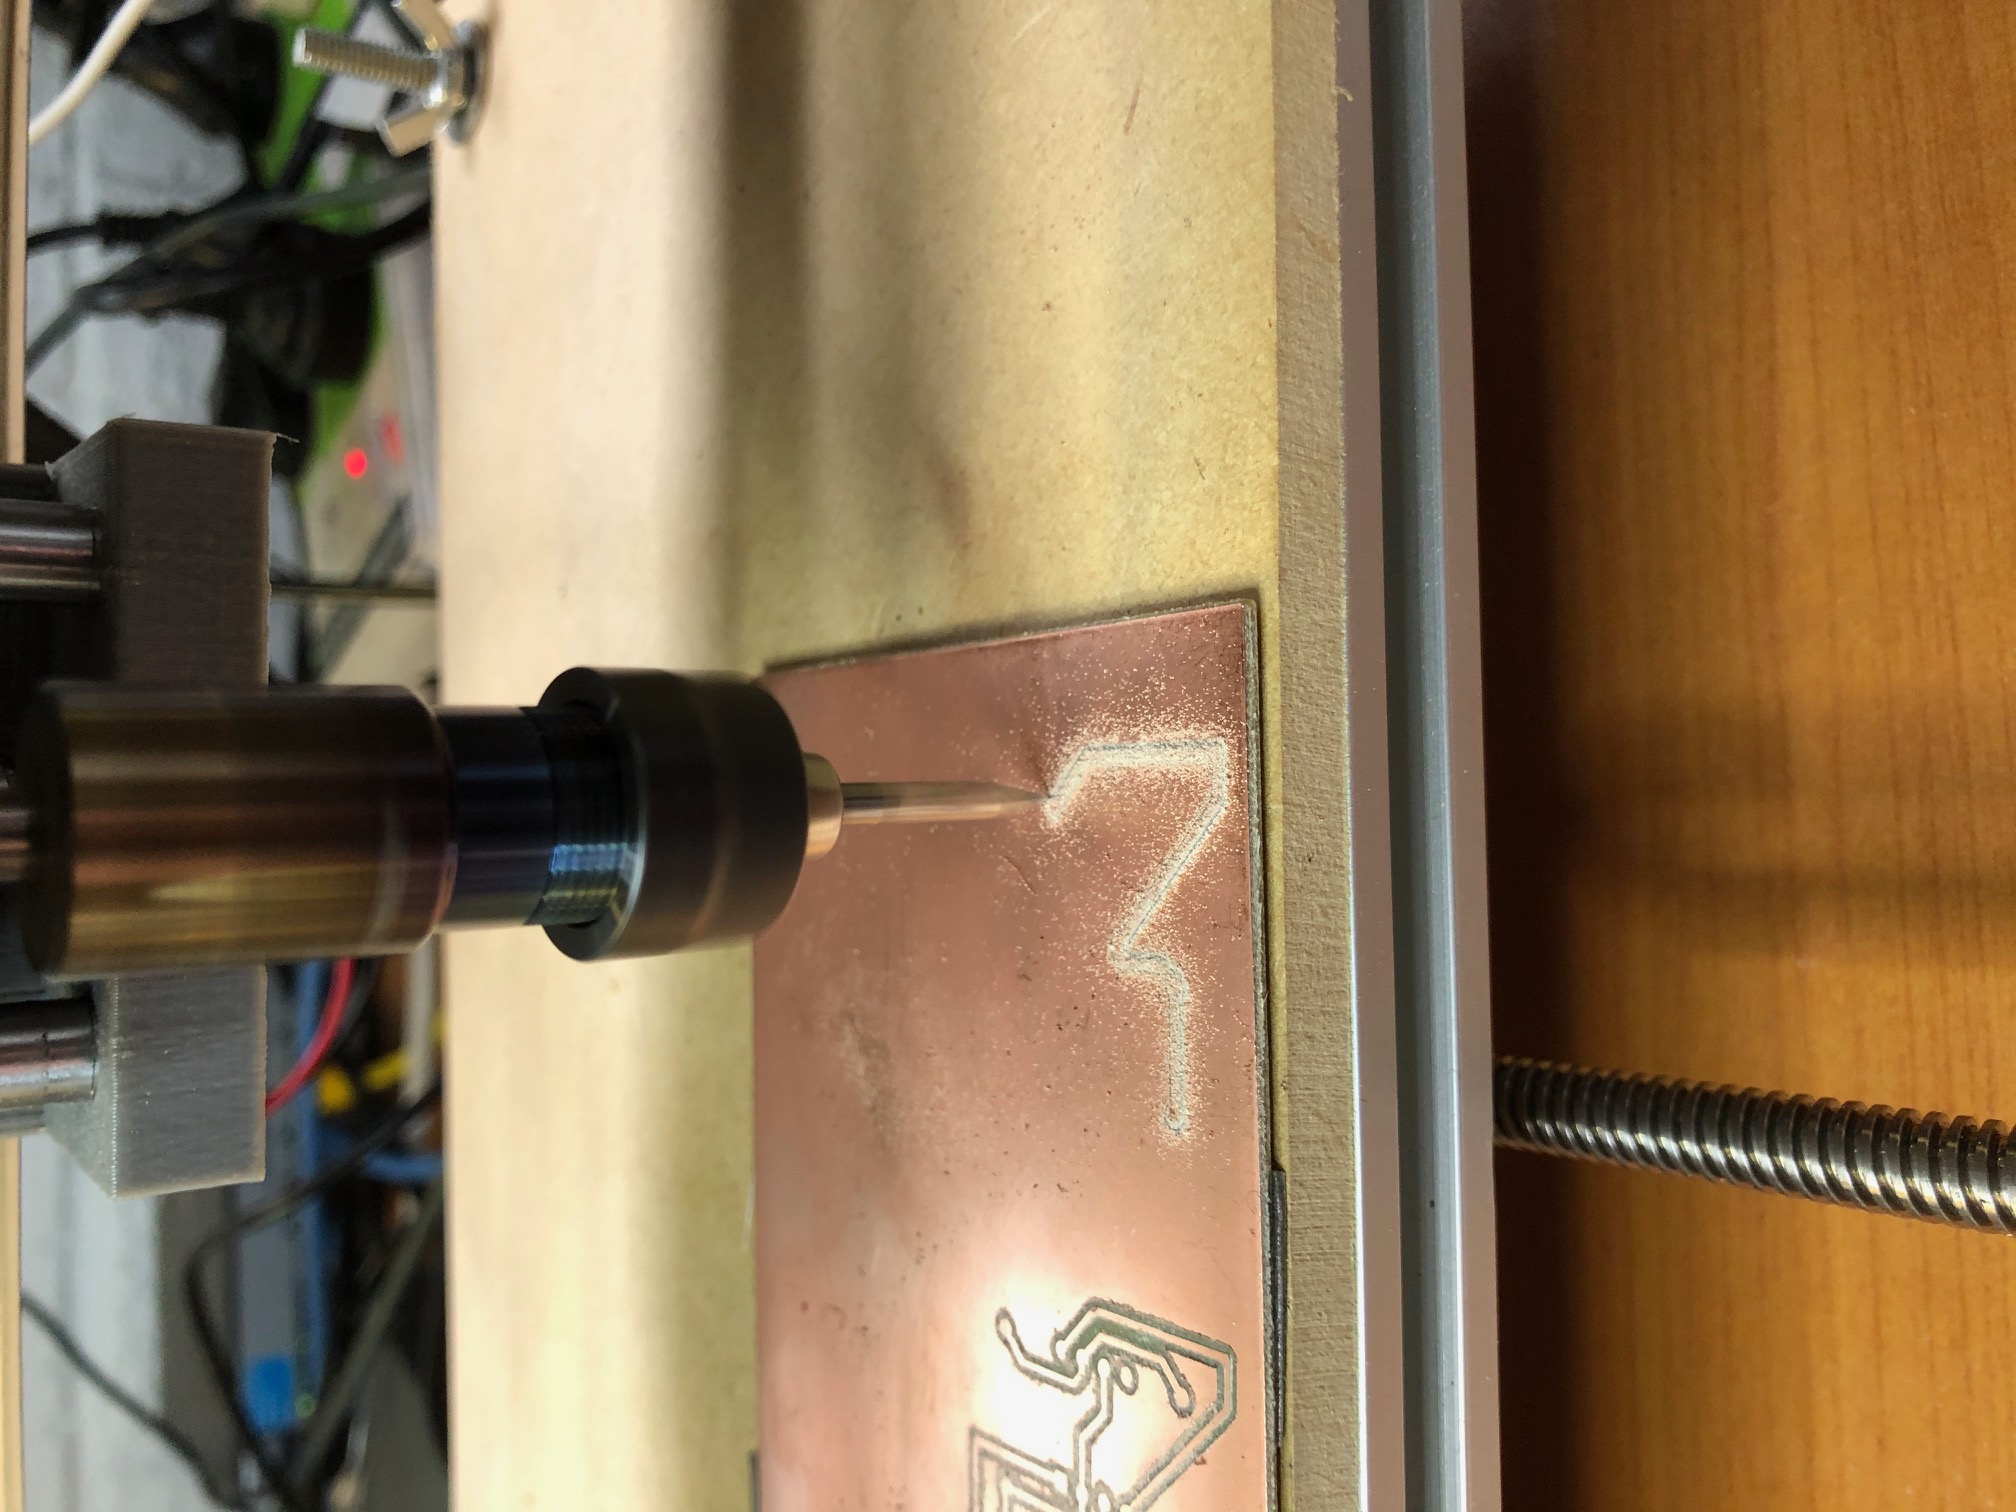
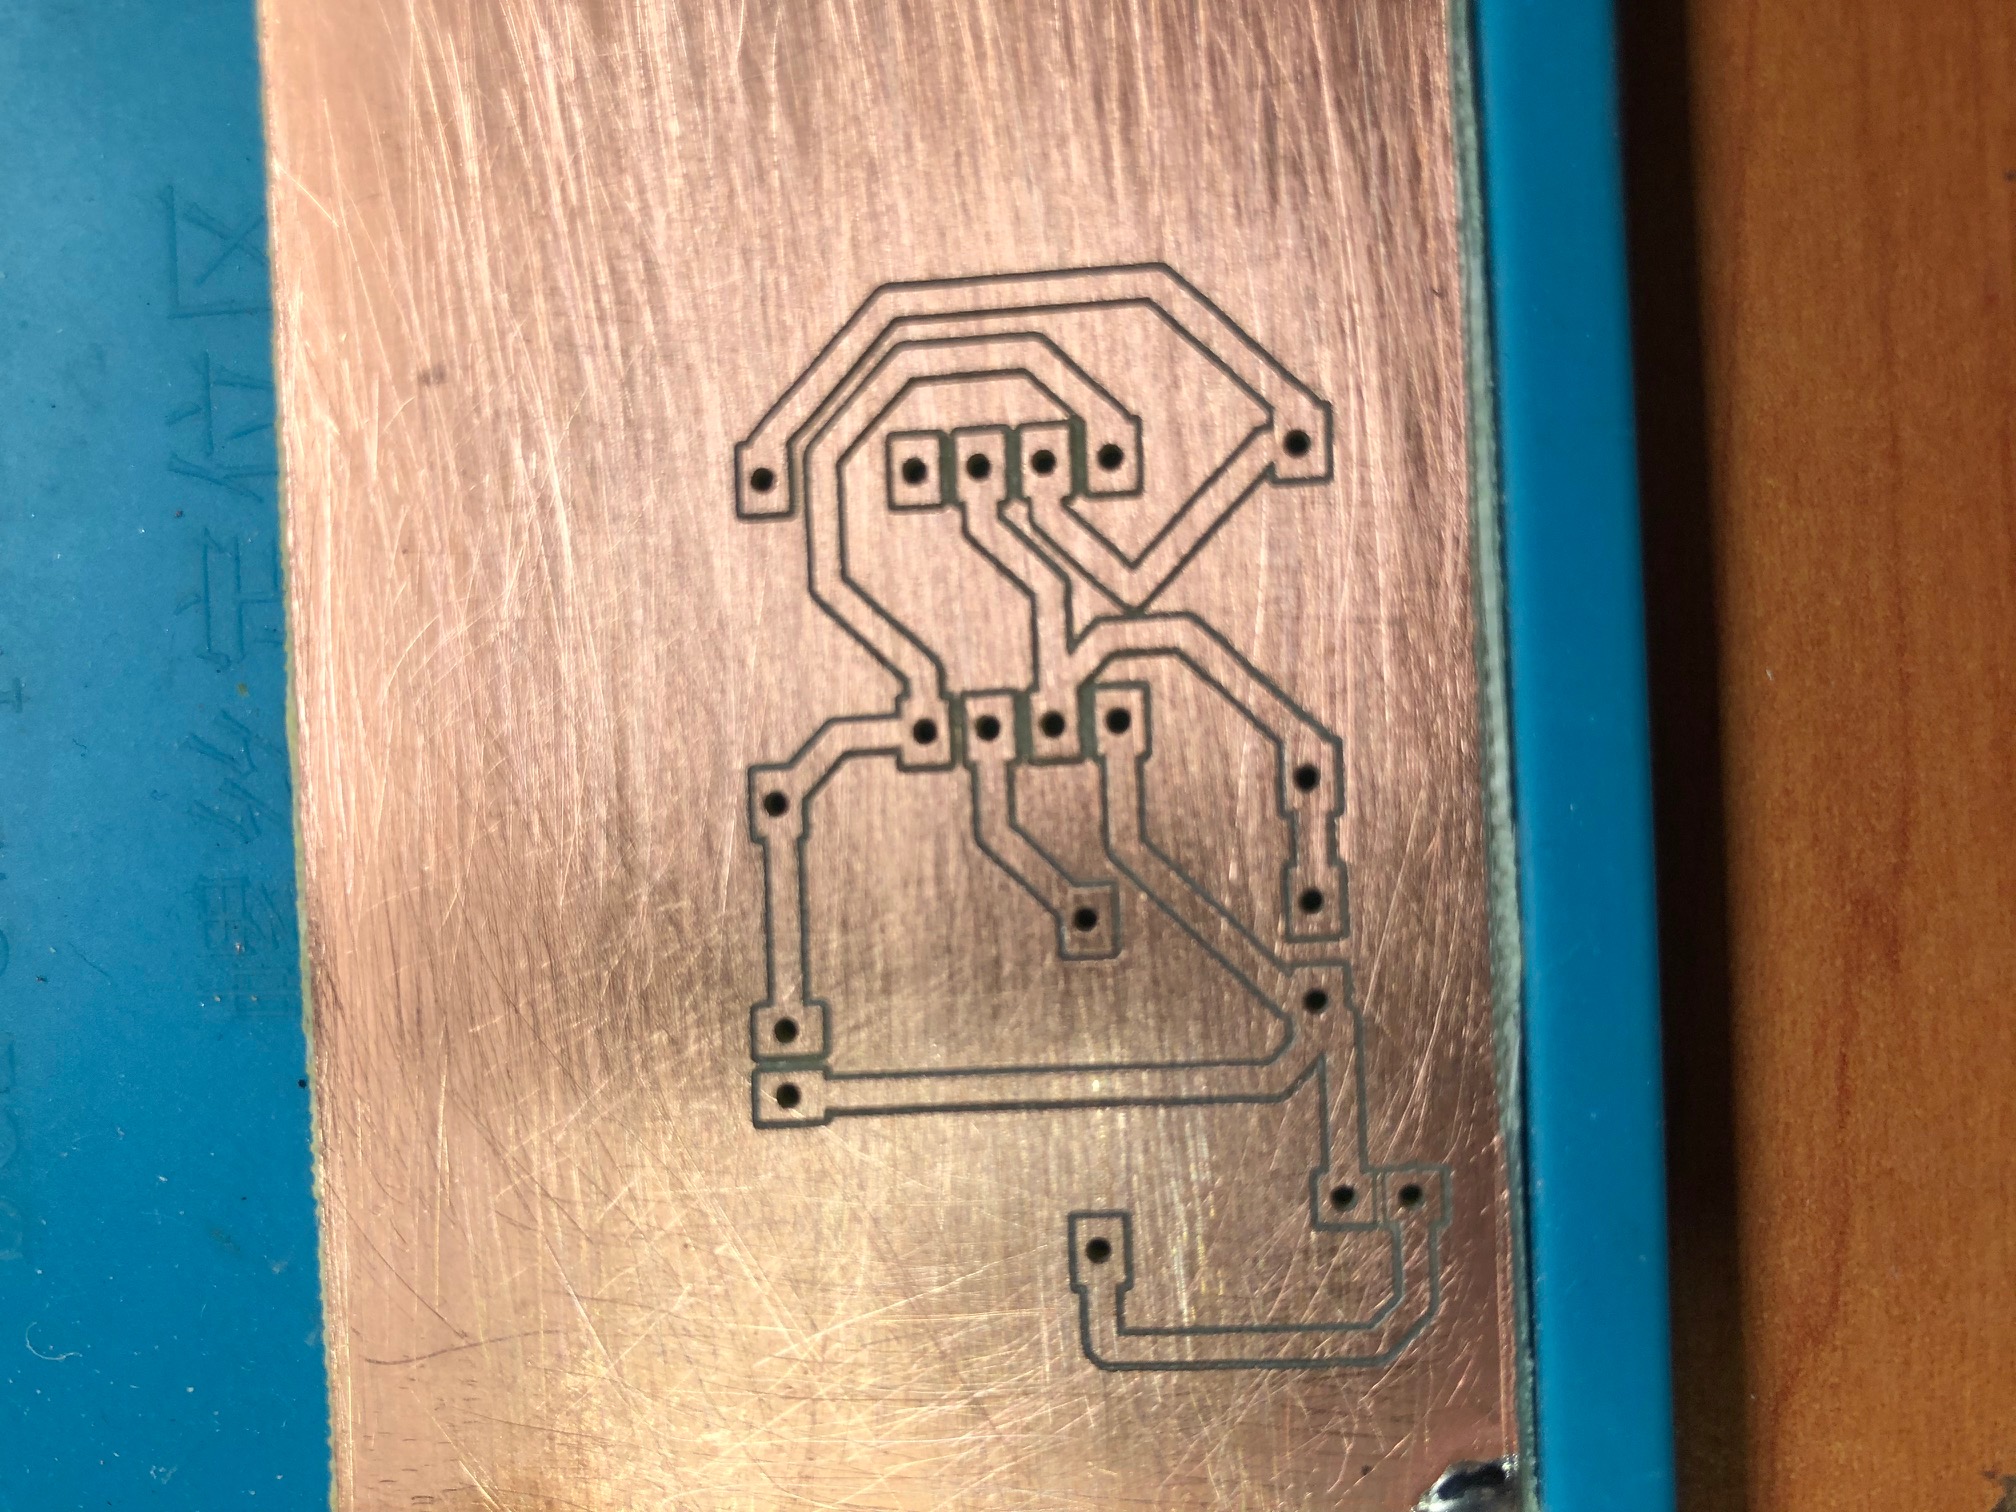
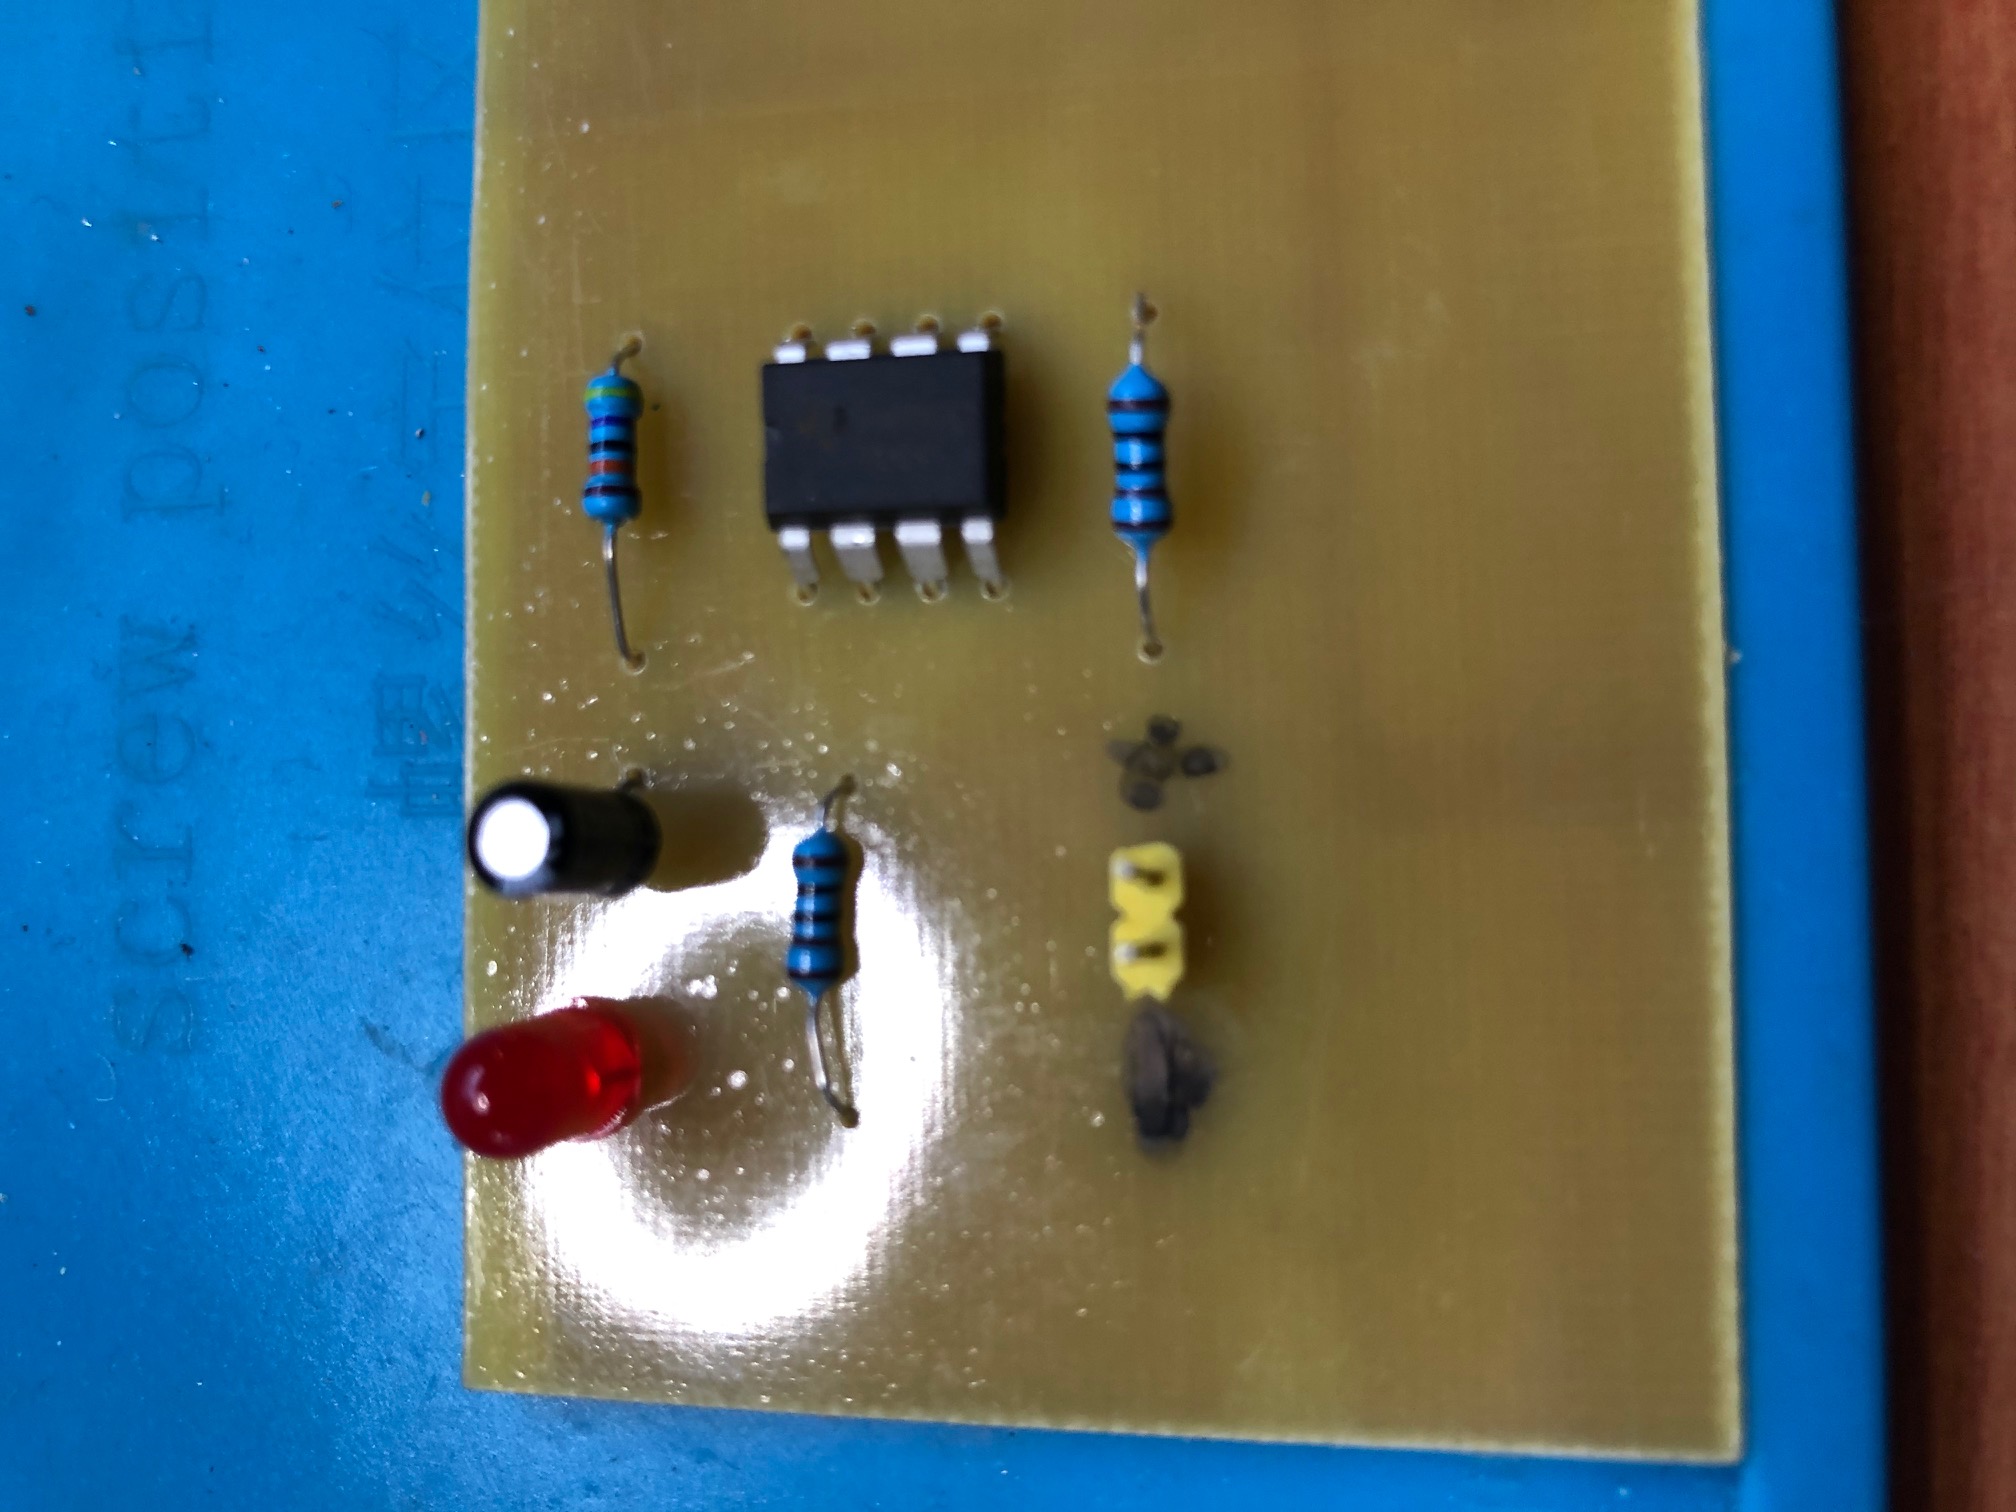
I just finished completing a simple single sided 555 timer PCB using the isolation routing technique. The results are quite acceptable, considering this was done on a $180 AUD dollar 3018 CNC machine.
The tools used in this process where:
- 3018 CNC milling machine kit from Ebay with the Woodpecker controller board running GRBL 1.1
- KiCad 5.1.5-3 for the PCB design
- Flat Cam 8.993 Beta for the creating the isolation GCode.
- Candle 1.1.7 to control the CNC machine.
There where a lot of lessons learned in producing a working board, I estimate I dulled 4 v-bits, broke 4 drill bits and attempted 10 routes before it all came together.
Out of this process I came up with these ‘safe’ settings:
3018 CNC milling machine
This machine is cheap but effective, as long as you don’t push it too far. It is also critical that you hook up the Z probe connections BUT be warned I destroyed the probe input pin of the controller when I accidentally discharged static electricity onto the pin. Fortunately I could recompile GRBL to use pin A4 instead of A5, but after that I wired the Z probe ground connection to my PC case and ALWAYS connect the ground probe wire first to make sure any static is discharged before touching the input pin wire.
Use fine sandpaper after milling before you discount the board as being rubbish. The quality can be deceptive until it is properly clean up.
Kicad
Settings
1 mm tracks.
Rectangular Pads – size x 2.5, size y 1.8.
Try an leave as much space as possible between the tracks.
Flatcam
Settings
Tool Diameter – 0.2 mm
Z_Cut: – 0.1 mm
Spindle RPM – max.
Feed rates – slow as possible.
Two passes.
Important – flip the design on the Y- Axis
Candle
It is important to use (at this time) the latest beta version of Candle because it supports Z Zero height probing. It is also important to note that versions have a compatibility restriction with GRBL. Check the version of GRBL on the CNC controller and update if necessary.
It is essential to use automatic Z zero height probing and a height map.
Go SLOW, this is really important, especially with the drill bits. The bits are so brittle that they will break even if they accidentally drop out of the collet just 2 inches onto the pcb. I place something soft beneath the bits when changing them so that they will not break.
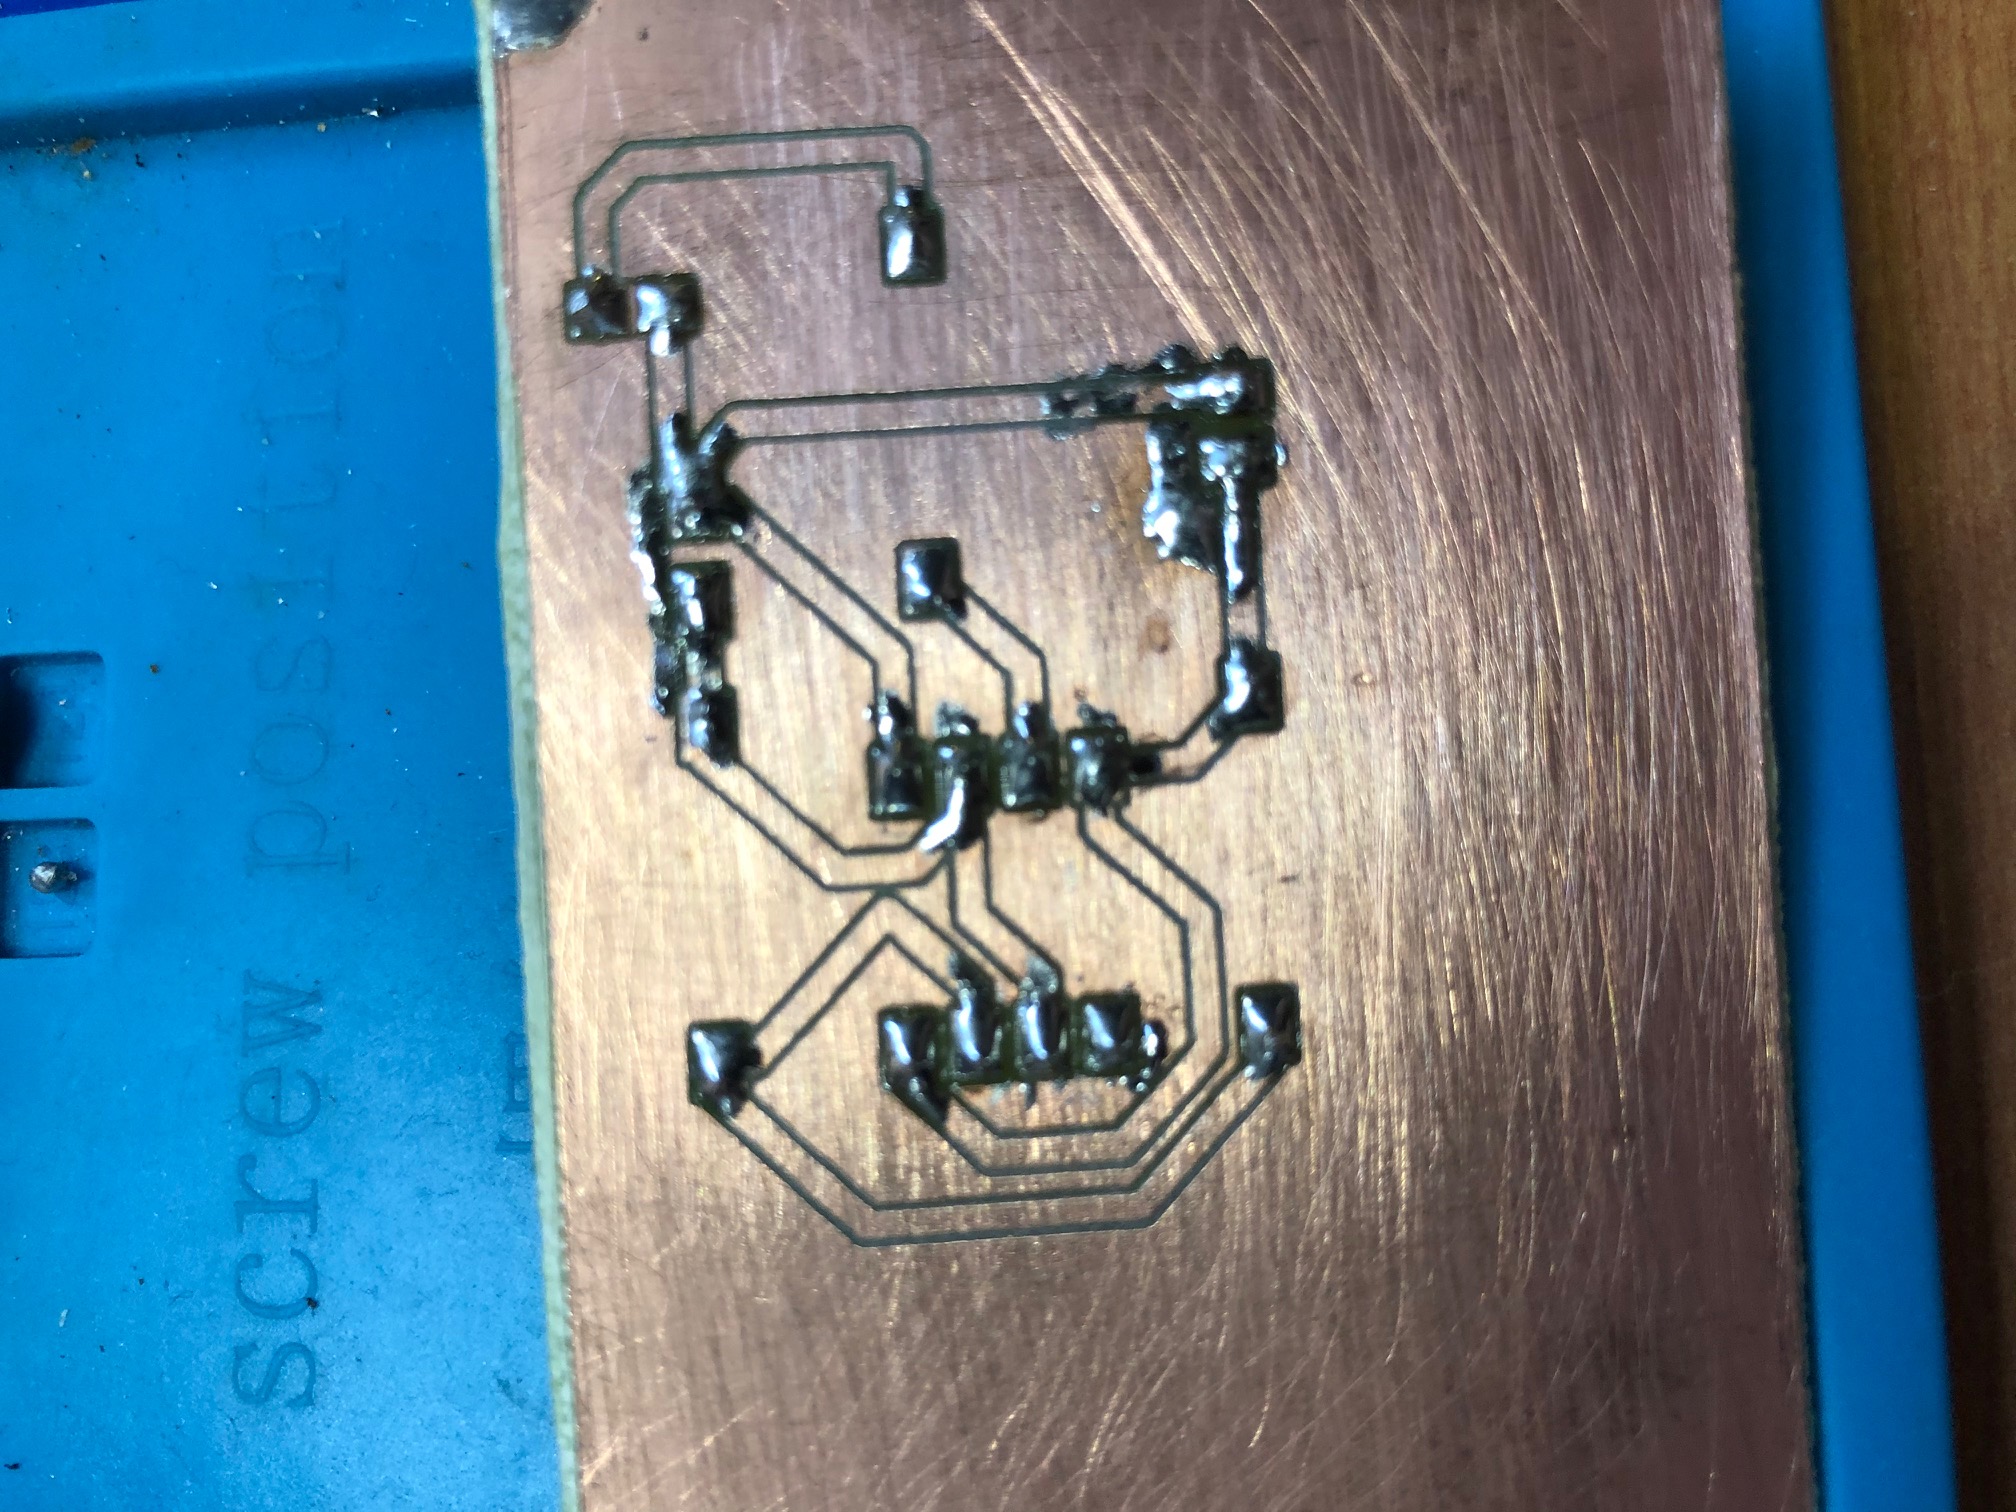
Soldering
Soldering onto an unmasked pcb requires a bit more care than normal. I used a fine needle tip on my soldering iron to get the precision necessary.