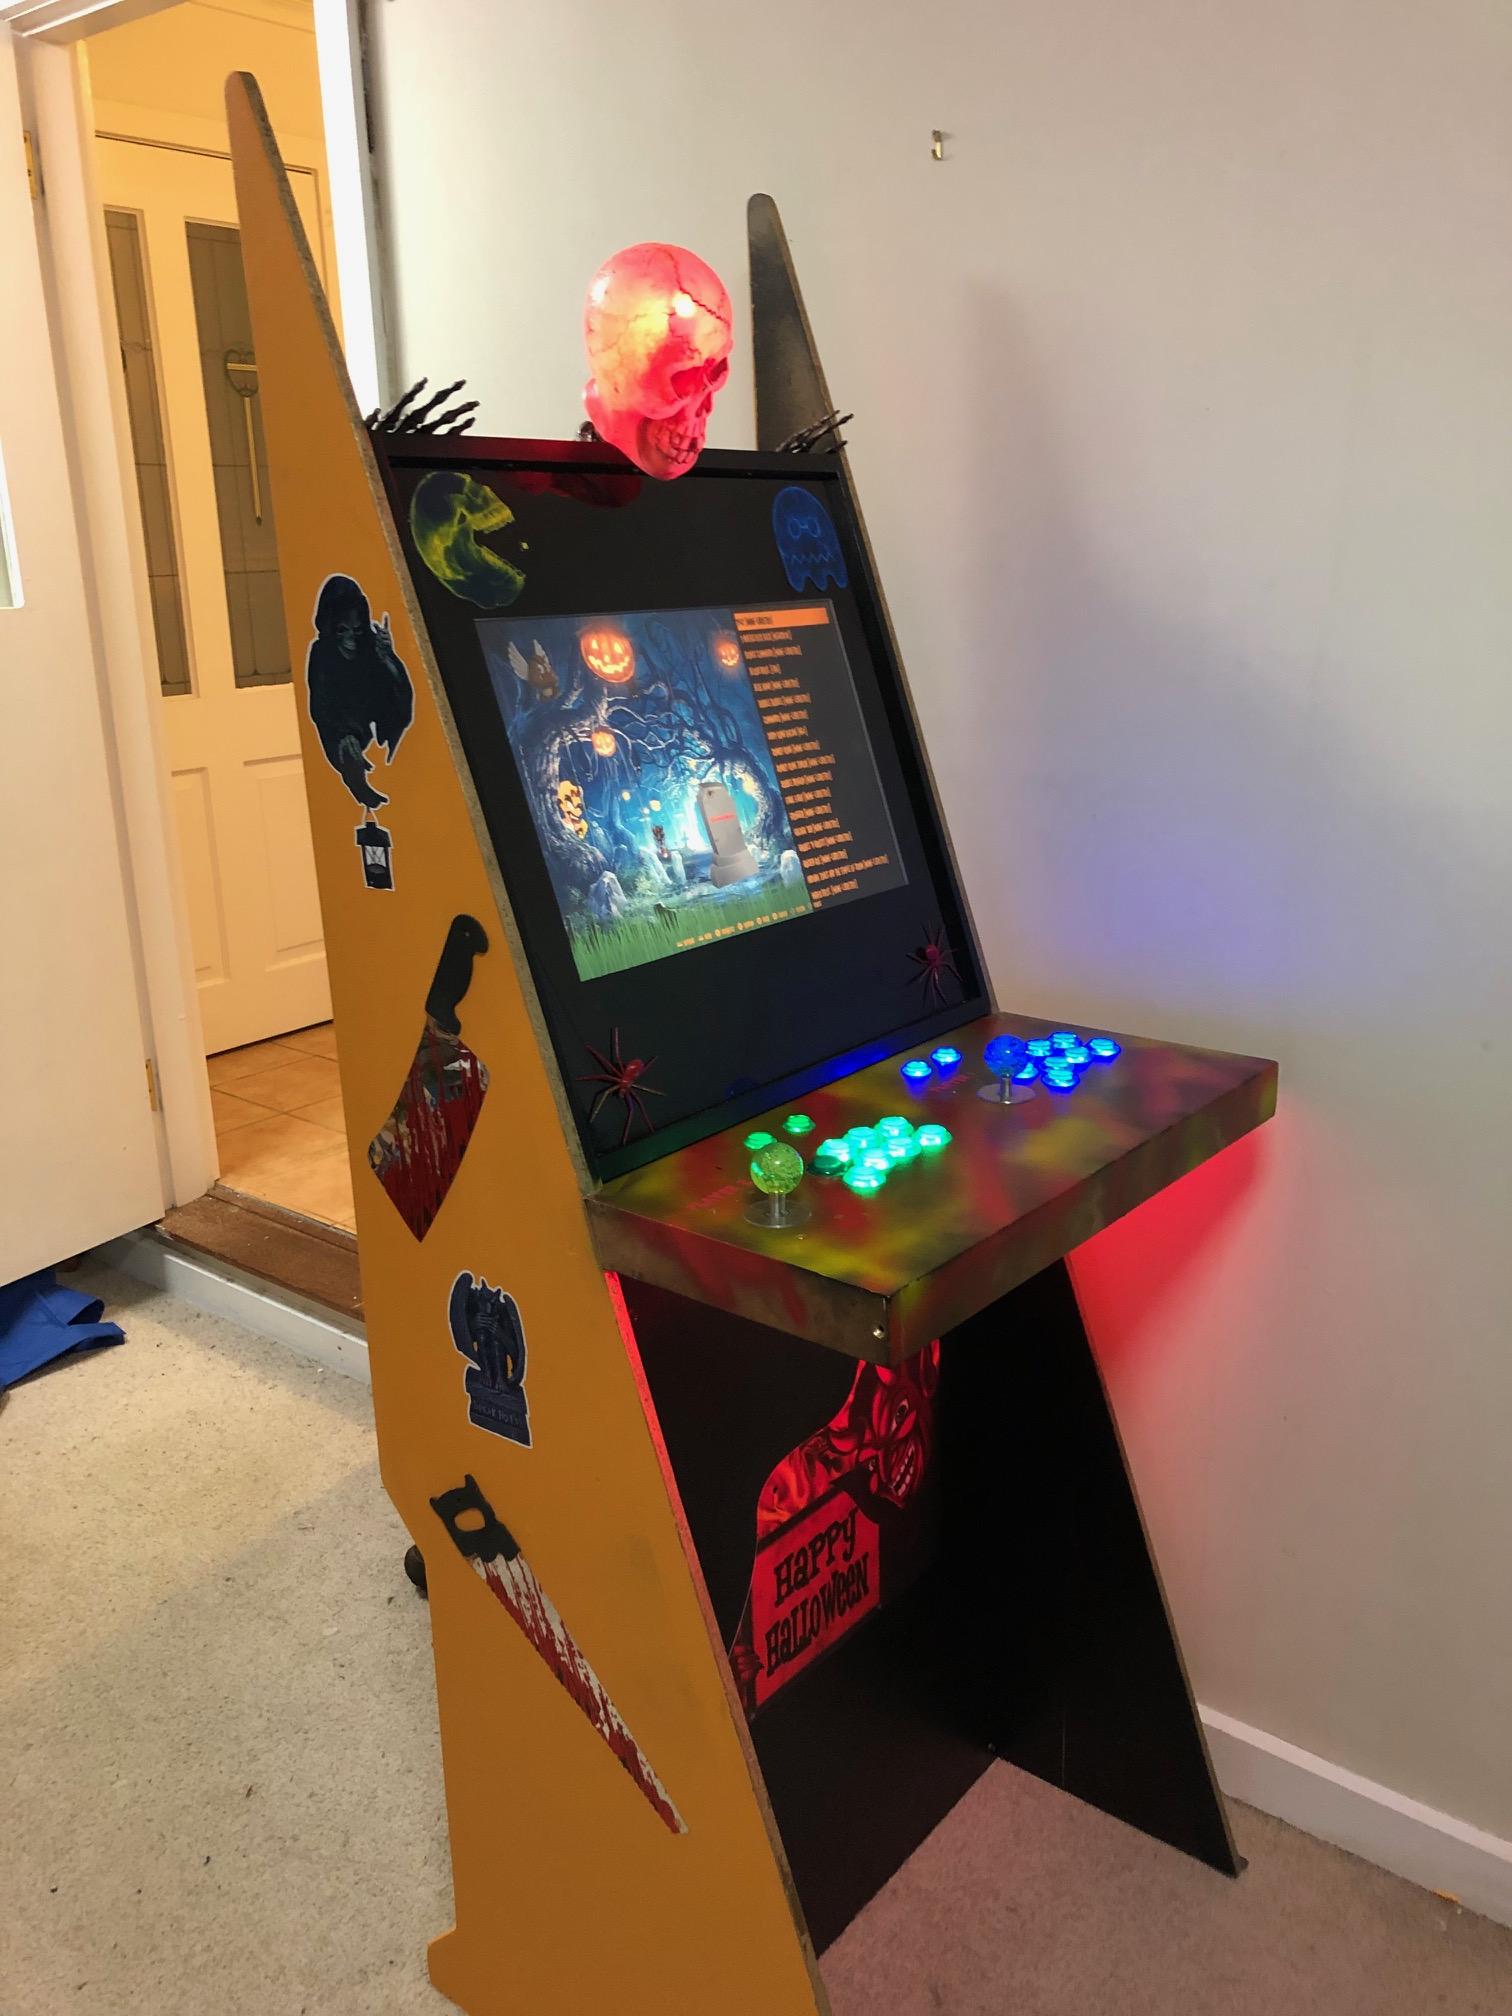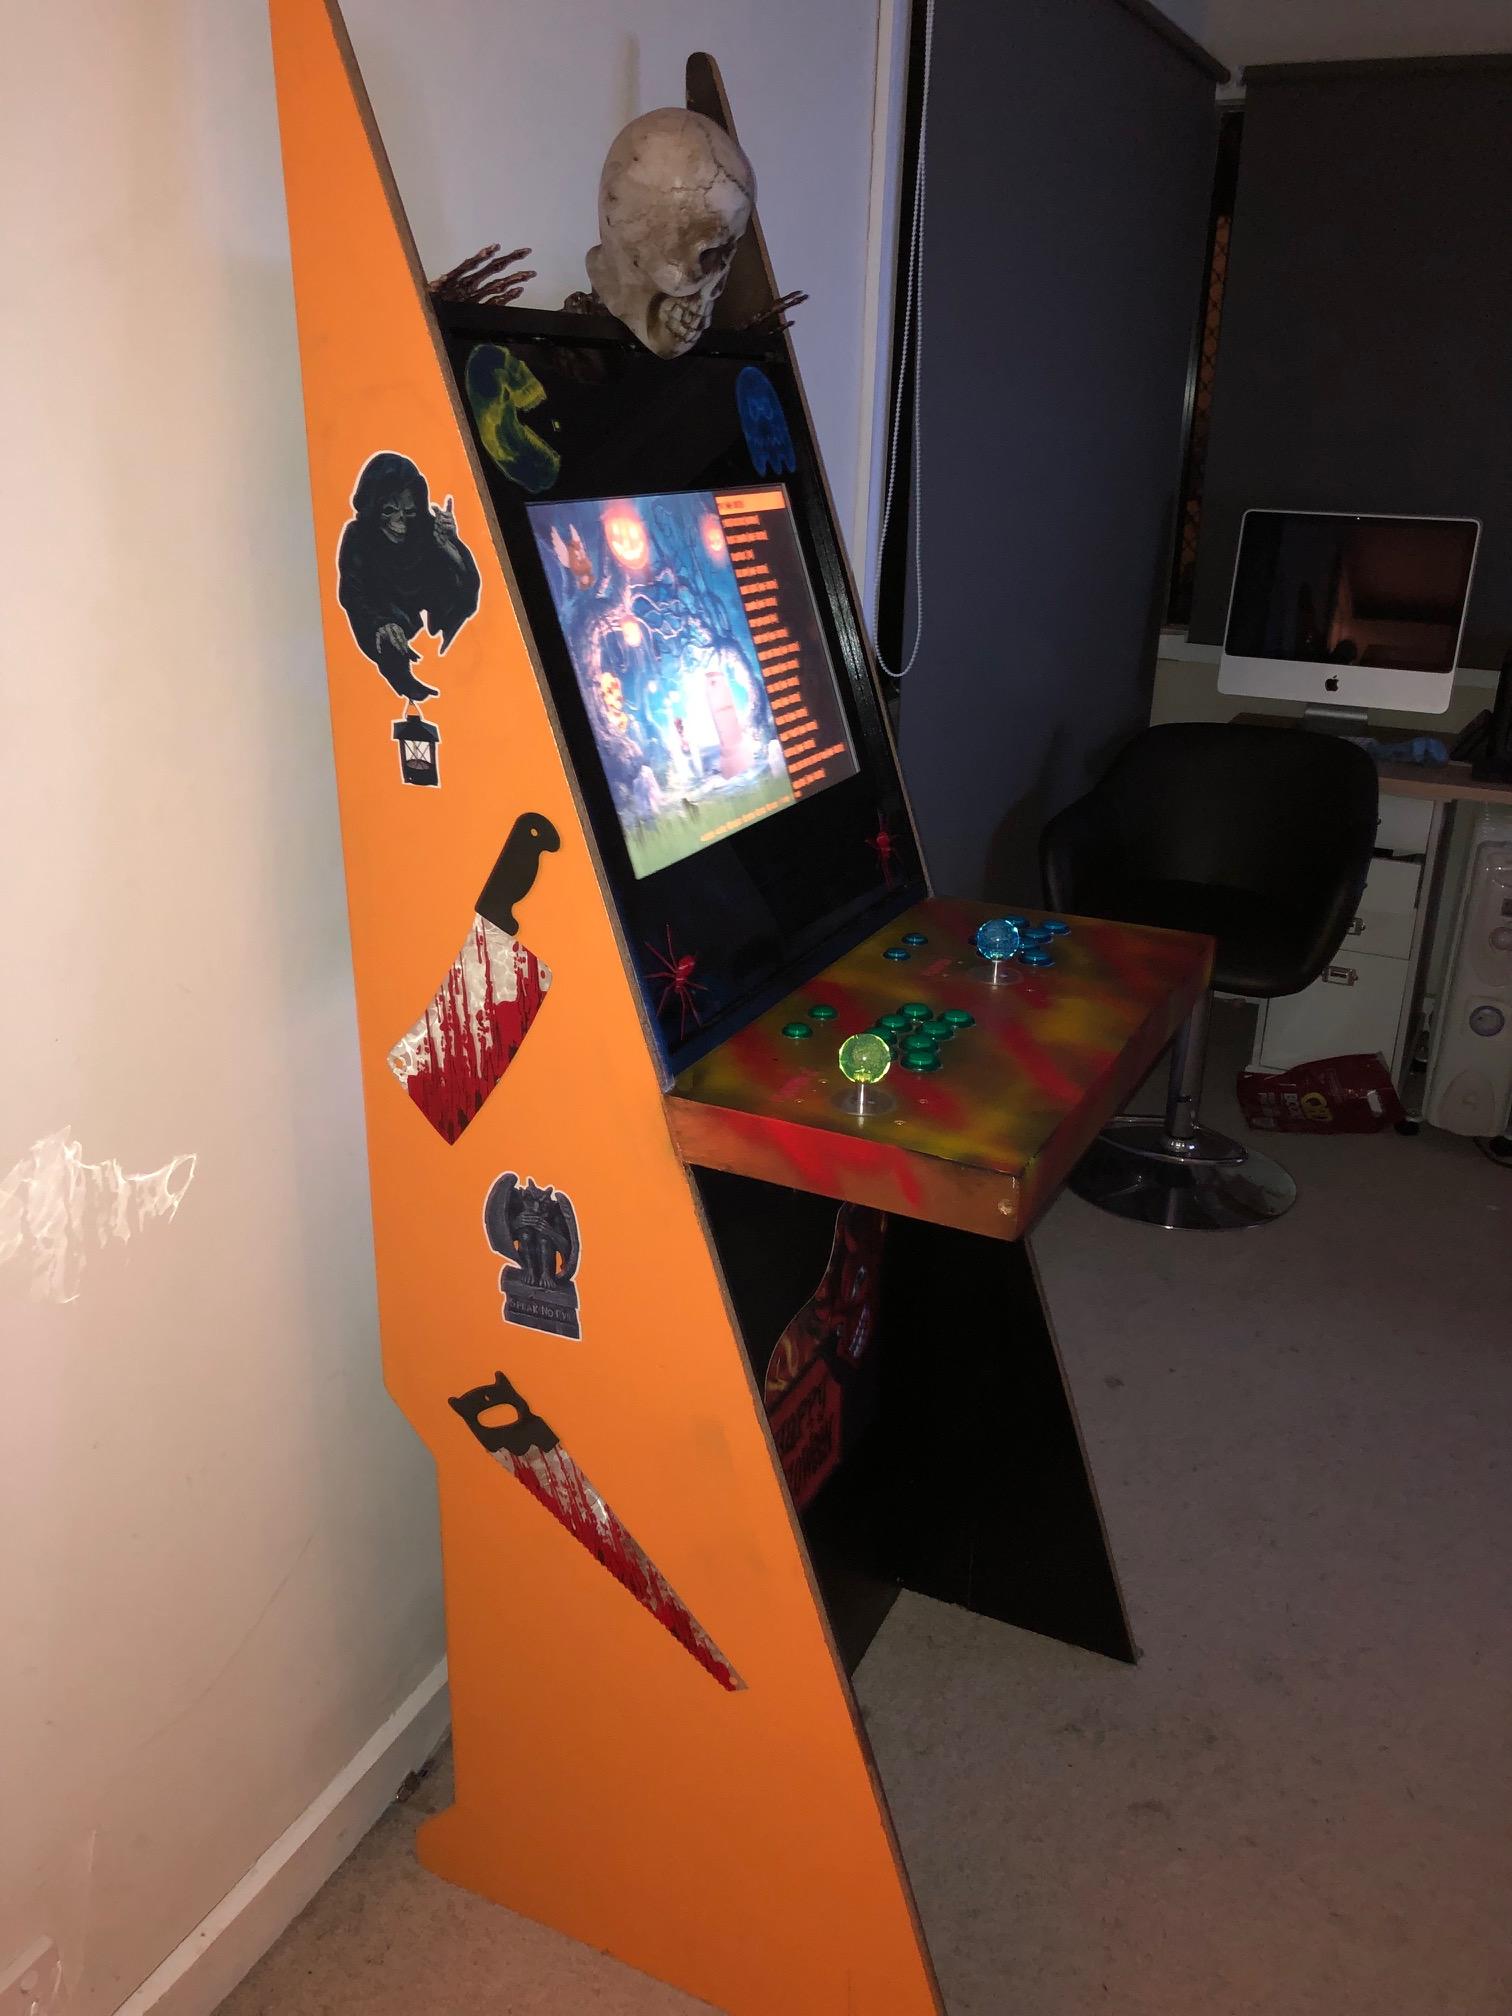


My Halloween themed arcade machine was a huge hit on the night, both small children and middle aged men squealed with delight when they first caught sight of it. If you are looking at it and thinking that this was a difficult build and that you need serious DIY skills to construct it, you had better keep reading, because this machine is incredibly simple to make.
I live in Australia, where Halloween is slowly but steadily creeping it’s way into our culture. My neighbourhood was lucky enough to have an American expat. who introduced the occasion with some flair, and now its celebrated eagerly by many in our suburb. Last year I went a little Clark Griswold and made a full cannibal butchery in our front yard, thanks to YouTube tutorials by Allen Hopps.

While this was tolerated by my wife, this year I thought about dialling it back a little, so I added only the arcade machine to the mix. The great thing about this built is there are so many additions a tweaks you can make to the arcade machine; lighting, movement sensors, decoration, etc. and when you don’t feeling like doing anything, you can simple play the thing!
So, back the build, my intention is to make another machine and create a full build tutorial, but for now this is how I did it:
Wood
The design is based on the Vigolix which is a fantastic mini arcade machine made out of a single sheet of plywood.
My machine is made from two sheets of chipboard (particle board) 1800 mm x 600 mm x 12 mm, about 4 lengths of pine strips 2400 mm x 40 mm x 20 mm and some 20 mm x 10 mm pine strips for framing the bezel.
My logic in choosing the wood is that chipboard is cheap, easy to cut, sand and drill. But the most important aspect is that the chipboard is already cut to the correct basic dimensions i.e. the height and the width is right for the machine I want to make. This is a two player machine hence the width of 600 mm. If I wanted to make a single player machine I would choose a smaller pre-cut panel. My local hardware store also stocks the acrylic sheet I need for the bezel in 600 mm widths, so basically the hard cuts have already been made for me.
Cutting
One sheet of chipboard is cut diagonally to form the two triangular sides. NOTE: chipboard is incredibly easy to cut and sand, you don’t need a power saw, just a regular hand saw will do. I screwed a long piece of the pine strip to the board to use as a straight edge and cut along it. Don’t worry if the cut is a little angled, that can be sanded out.
Once you have the two cut pieces, clamp them, or if you don’t have clamps, screw them together and then sand the cut edges square with each other. Make sure the sandpaper is attached to a flat block of wood to keep the sanding flat.
If the you want to cut the notches out at the back you will need a jigsaw. With the two sides still clamped together, mark and cut out the notch through both pieces at the same time, and then sand them smooth. If you don’t think you can manage the cut, either don’t worry about it – it will still look good, or try some practice cuts on another piece of wood first. I recommend using blue painter’s tape to mark the cut outline, then cut along the tape’s outline. It makes it a lot easier to see, and guides the hand a little.
Next decide how high you want the button control panel to be from the ground, cut the second piece of chipboard to that length. Attach pine strips to each side of the wood you just cut using screws, then screw those strips to the side of a triangular pieces and you have the basic frame made.
Next place the remaining piece of chipboard on top and adjust how far you want the button control panel to overhang, then mark the board at the back of the cabinet and cut it. Next attach pine strips to the side of the cabinet to support it, and screw into place. You have effectively made a shelf starting at the back of the cabinet with the overhang at the front making up the button control panel. That’s the major construction done!
Cut three 600 mm strips off the remaining chipboard to attach underneath the control panel as sides to strengthen it and hide the arcade buttons and wiring. Mine are 40 mm deep, I would probably recommend 50 mm to be sure of hiding all the wiring. In order to make the edges flush with the angled edge of the cabinet I placed the two side pieces on the inside of the cabinet and traced the angle onto the wood and cut them first. When I was happy with the fit, I marked and cut the ends. Before attaching the sides to the console you might want to read the section “Screwing, Gluing and Nailing” first. Screwing will work without splitting if you take note of the pilot hole advice, but my preference would be PVA glue with nails.
The Control Panel
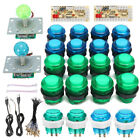
I purchased a set of arcade controls off eBay. the description was “20 DIY LED Arcade Push Game Buttons + 2 Joysticks + 2 USB Controller Encoder “.

You definitely want LED buttons, they look so good when lit. But all the games I have played only use 3 large buttons, so next time, for a two player machine I would go for 2 sets of 1 x Controller, 4 x large LED Buttons and 2 x Small LED buttons. So the large buttons would be A, B, C, D and the two smaller will be “Coin” and “Player”. You end up with each player having their own “Player X” button and “Coin” button.
I don’t think the layout of the buttons makes that much difference but here is a great resource for layouts. Print them out and try them for ‘feel’. To place two sets of controls I would start with the left hand side, place your hand on the panel and make sure that your hand has enough room to the left to sit comfortably when not in use, mine was too close to the outside. Drill the holes through the template with a spade bit, using an ordinary electric drill, you don’t need a drill press or anything like that. Then do the right hand side, you can just eyeball the distance from the edge and find what ‘looks’ good, but if you want to measure, I would place the outside button the same distance from the right side as the joystick is from the left hand side.
Screwing, Gluing and Nailing
Whenever you want to screw two pieces of wood together, always drill a pilot hole through the first piece only, just wide enough for the screw to fit through by pushing with your fingers. I”M NOT KIDDING !!! this is greatest piece of DIY advice I ever received. The two pieces will join without any binding, the screw will countersink itself and you will not split the wood EVER (pretty much). PVA wood glue is a bit out of fashion these days with all the fancy new glues available, but it is still fantastic stuff, especially with these types of wood, so use it if you have it. If you screw and glue it becomes rock solid immediately, if you just want to glue and clamp, PVA will set in about 30 minutes (go get a coffee). If you can’t wait 30 minutes, get your self some really small/thin bullet head nails and glue and nail. I would also recommend construction adhesive as an alternative or additional glue.
Because this cabinet is going to be painted don’t worry about making the screws line up perfectly, or any mistakes you might make, fill them in with putty and sand them back, they will never show.
The Bezel
In my opinion its the bezel the makes the machine look professional. By bezel I mean a piece of glass or acrylic that covers the monitor and blacks out all but the display portion. If you look online people pay serious cash for stick-on arcade graphic bezels. But here is how to make a perfect looking bezel around you monitor. This is not totally my idea, I read the masking instructions on a forum somewhere, I will try and find the reference at some point. Cut two strips of the ‘framing’ pine and mount them to the outside edge of the cabinet, from the top of the control panel to the height of the bezel, these will hold the bezel in place from the front. Push the bezel against these strips from the back of the machine and mount exactly the same strips behind the bezel. Now you should be able to slide the bezel panel in and out. With the bezel in place mount your monitor in the correct position, pushing it solidly against the back of the bezel. Do this anyway you want. I mounted a piece of wood under the monitor for it to sit on, then a piece across the monitor’s back to hold it in place. Now using blue painter’s tape (you MUST use painter’s tape, ordinary masking tape will bleed the paint), mark the outline of the monitor from the front of the bezel. That means creating a rectangle with the tape that just covers the monitor’s display area. Remove the bezel and place it face down, and use the painters tape to mark the inside of the rectangle created by the tape on the front. So, the square on the back of the bezel will be exactly the dimensions of the display portion of the monitor. Next tape newspaper or something over the rest of the area you have just masked off. Take some good quality (by good I mean a $12 can not a $4 can, Rustoleum is my current favourite brand) black spray paint and paint the bezel. Don’t put too much on at a time. Do 3 or 4 light coats about 5 minutes apart. When you remove the tape and masking you will have created a perfect bezel that exactly fits where the monitor is mounted. Slide the bezel back in place and cut a top and bottom pieces of framing pine to finish the framing from the front. The only glue I could find that would make them stick to the bezel was construction adhesive. Even hot glue eventually succumbed to gravity.
Painting and Decorating
Give the whole thing a good sand down. Don’t waste your time trying to paint this with a spray can, the wood will soak it up immediately and you will need loads of cans. Get some primer paint or any good house paint you can find and give it a good coat or two. NOW you can spay paint if you want it a different colour. Do you like the paint job on the control panel? maybe you like the graffiti look, or maybe you don’t, but there is more to that paint job than looks. Basically I did a really bad job on the panel. I didn’t sand back the edges enough, and the fill the screw holes enough. Instead of redoing it it decided to use a trick to disguise the flaws. First I spray painted, the now black, surface with gold spray paint. Its the gold paint that gives it the vibrant look. Next I took some different coloured gloss spray paint and made those random lines, only they are not as random as they might seem. Wherever there was a flaw I made sure that line of colour was passing by its edge or through it, and maybe other colour was intersecting there. basically I was camouflaging my mistakes. You might be surprised how easily the human eye is fooled. Had I left it plain black all my mistakes would have been shown in stark relief. Its a good trick to know!
The rest of the ‘graphics’ are just bits of Halloween decor stuck to it. I will probably add some cobwebs to the sides as well when I get around to it.
Lighting and Electronics
OK, lets start with the software, I am using a Linux base image called RetroPie. This distribution was made to install as an image onto a SD card and run on a Raspberry PI computer. It is completely setup to be an ‘arcade’ machine with the Emulation Station software pre-installed. Emulation Station is an incredible effort to make a single front-end to many different game emulators.
So, its powered by a Raspberry PI right? Actually no, because at the time I built it I didn’t have a Raspberry Pi. I ordered one online but while I was waiting I had another thought. I had an old Compaq laptop lying around, it was cheap 12 years ago when I brought it, it only had 2GB RAM, and no battery. I wondered if it would work? And sure enough it did, really, really well in fact. You see, although RetroPie was designed for a Raspberry Pi, it will run comfortably on various modern Linux distributions. So following the official documentation on the RetroPie website I installed Ubuntu and the RetroPie software on the laptop and hey presto it just worked.
So with the software installed, I made another ‘shelf’ at the back of the cabinet and installed the laptop. The arcade controllers connected via USB to a Hub. Now for the lighting. I got a 12V RGB led light strip. These types of LED strips can be cut every 3 lights, but they need some form of controller to change their colour. I mounted one strip to the front of the control panel on the inside to light up the “Happy Halloween” sign. and another inside an old plastic skull which I mounted on the top with a couple of hands to make it look like a skeleton was leaning over watching you play. I realised at this point I didn’t need a LED controller, because with RGB LEDs, connecting power to just the ‘R’ – red wire and ground gives you just red, duh! and red is all I decided I wanted. Obviously I could also have had all green or all blue, or all of them together to make white. In the future I might use an Arduino make the lights a little more fancy, with fades and colour changes etc.
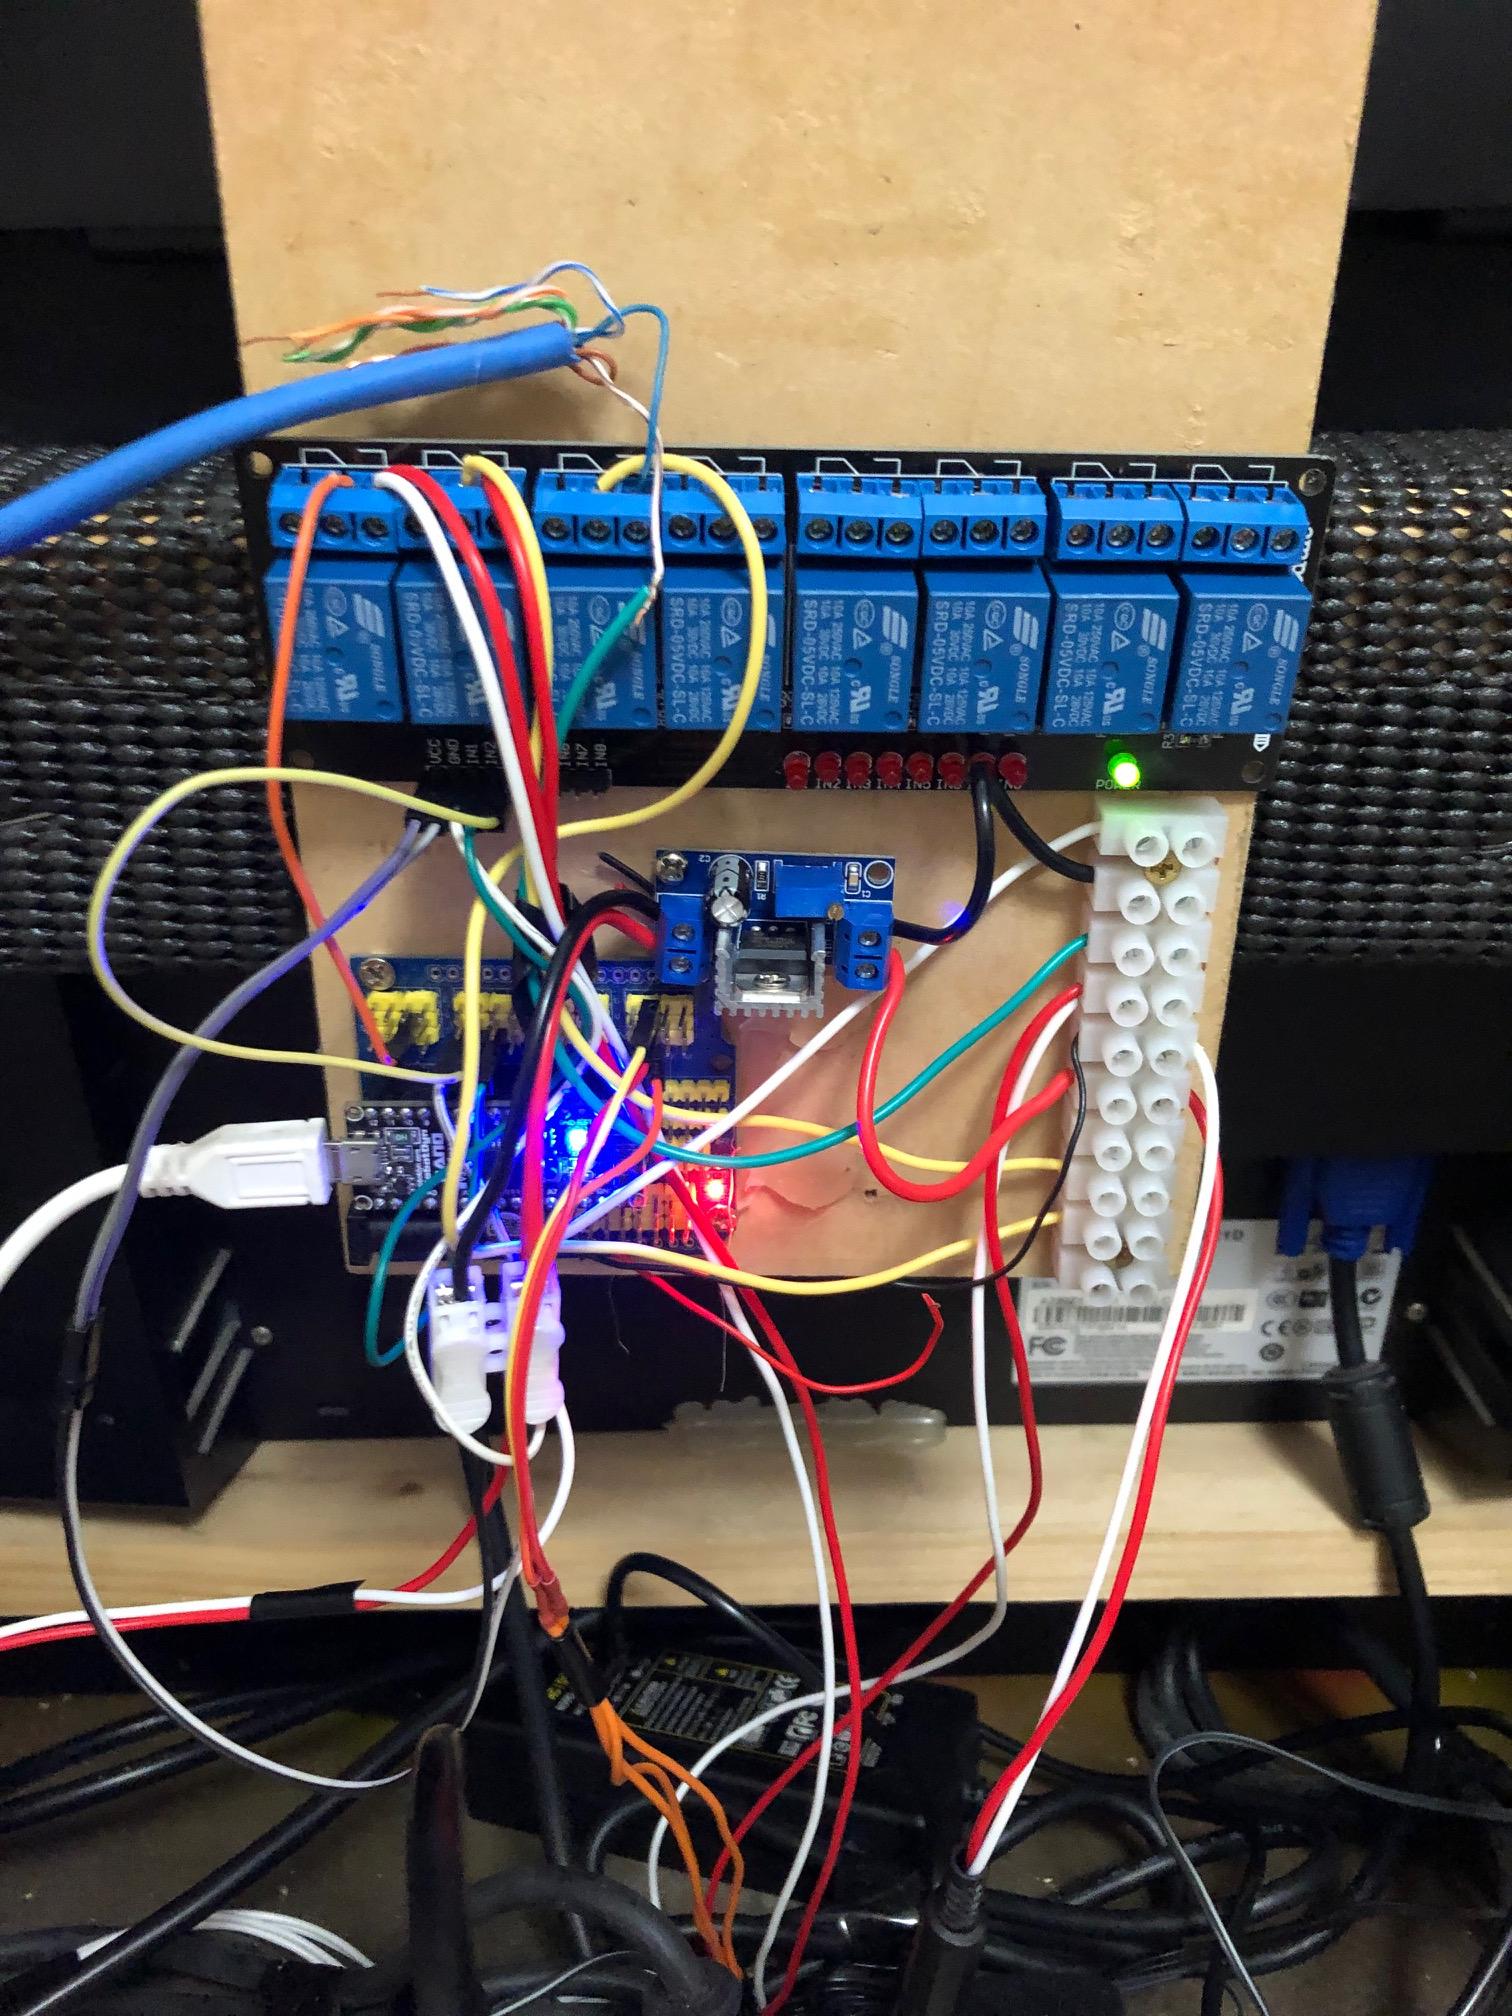
To control the lights on and off I hooked them to an eight channel relay module, and connected that to an Arduino Nano I had lying around. Obviously if I had used a Raspberry Pi computer, I could have skipped the Arduino and used the Pi’s GPIO pins to control the relays.
I added a 12V power supply to power both the lights and the Arduino. NOTE: while the LED strip lights are 12V the arcade button LEDs are only 5V, don’t mix that up or you will blow the button LED’s. I used a small voltage step down buck converter to convert 12V to 5V.
Next I installed the Arduino IDE on the laptop and connected the Arduino via USB, so I could program it. I Also added a PIR sensor to the Arduino so I could detect is anyone was in front of the machine, and turn the lights on and off accordingly.
And that’s about it. I will and some more detail over time and I am happy to answer any questions. If you make one of these, be sure to post it!
Thoughts On Different Types of Computers
I ended up using an old laptop for this build because I had it, but it did turn out to have some serious advantages.
Pros of using the laptop:
Cheap
Has a built-in screen, keyboard and touch pad so it I can ‘tinker’ with the software from behind the machine easily.
I actually wired the laptop’s power button to a button on the side of the cabinet, now I can suspend and wake the machine. This is excellent because I can actually suspend mid-game.
The roadside LCD monitor I was using didn’t have HDMI, and the laptop had VGA output.
Cons
Requires separate micro ‘Arduino’ to control the rest of the electronics.
Harder to setup, because it requires some knowledge of Linux.
Pros Raspberry Pi
Retropie just needs to be imaged to an SD card and you are up and running.
Can use the GPIO pins on the Pi to control the electronics, no need for the Arduino
Cons
Requires a HDMI monitor, or HDMI to VGA adaptor for old monitors.
Arguably more difficult to use the inbuilt GPIO’s than using a separate Arduino
Does it push the graphics chip too hard? I’m not %100 sure about this.